Sentora Web Hosting Control Panel එකට File Manager Module එක Install කරන ආකාරය
සුභ දවසක් හැමෝටම.! මම කලින් ලියලා තියෙනවා Sentora Web Hosting Control Panel එක Ubuntu 12.04/14.04 , Cent 7 වල Install කර ගන්නා ආකාරය එ ලිපි බැලුවේ නැතිනම් මෙතන ඔබලා බලන්න.
Sentora Panel එකේ මම දැකපු ලොකු අඩුවක් තමයි File Manager එකක් නොමැති කම දැන් එ අවුල හරි Module එකක් තියෙනවා මේ Module එක Install කරලා File Manager එක Sentora Panel එකට දාගන්න පුළුවන්.
Note : ඔබ අඩු මිලකට 24/7 Support සමග Web Hosting හෝ VPS ගන්න තැනක් සොයනවා නම් lankawebhosting.net වෙතින් මිල දී ගත හැක.
Sentora වල Module එක ස්ථාපනය කරන ආකාරය
මුලින් ම Putty හෝ වෙනත් ඕනෑම SSH client එකක් භාවිතා කරලා VPS එකට ලොග් වෙන්න
Login as : ඉදිරියෙන් root කියලා Type කරන්න.
Password එකට root Password එක Type කරන්න
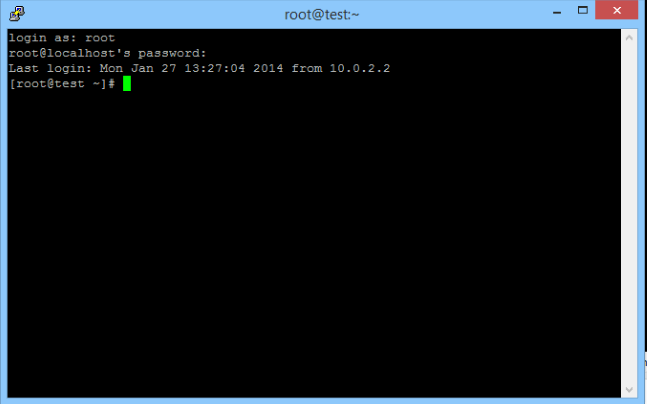
ඊලගට පහත Command එකින් එක Type කරලා Enter ඔබන්න
zppy repo add zppy.github.io/repo
zppy update
zppy install ELFileManager
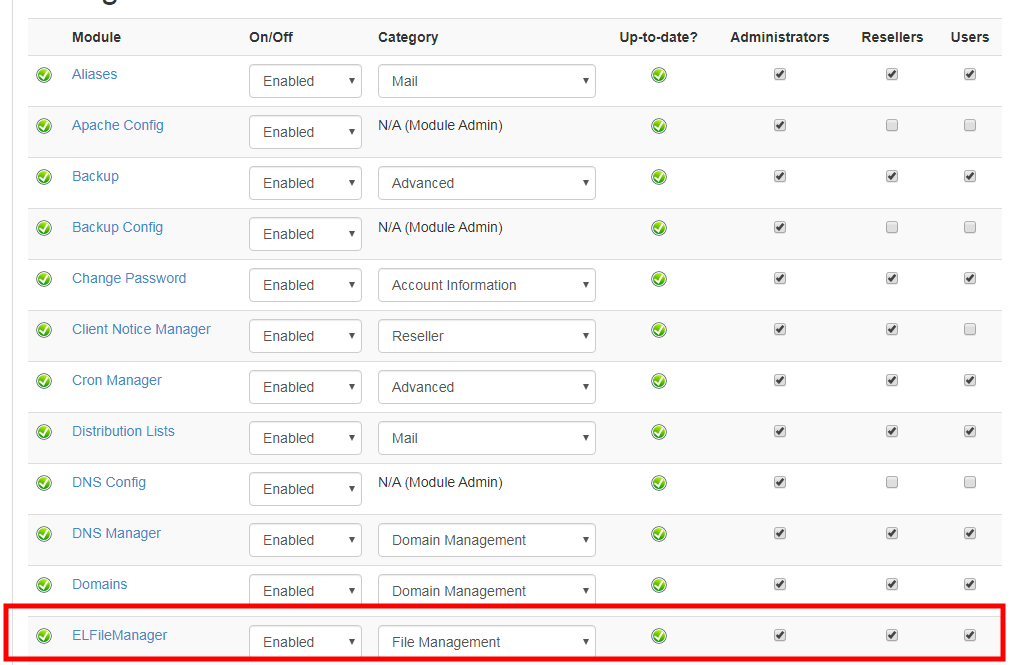
ඊළගට Sentora Panel එකට ලොග් වෙලා එකේ Admin > Module Admin වලට යන්න. එකේ අලුතෙන් එකතු වෙලා ඇති ELFileManager නමින් අපි කලින් Install කර ගන්නා ලද File Manager Module එක. මේ File Manager එක Sentora Panel එකේ Administrators , Users , Resellers Account වලට සක්රීය කර ගැනීම සදහා ඒ ඉදරියෙන් තියෙන කොටු 3ට ක්ලික් එකක් දාලා Save ඔබන්න.
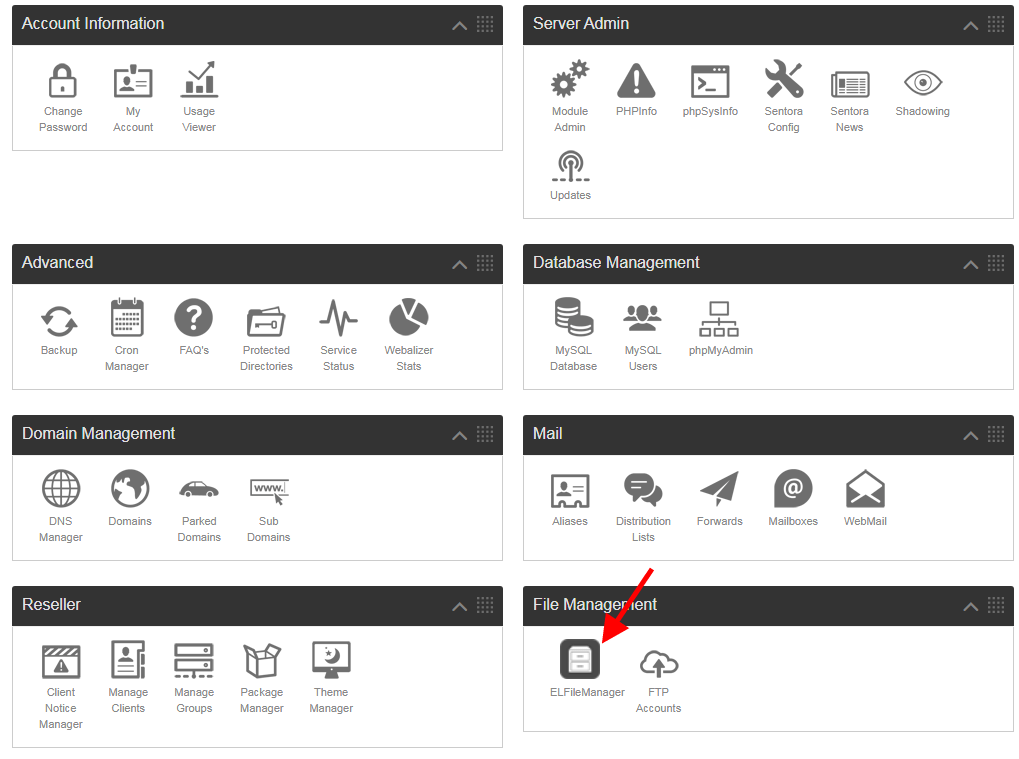
ඊළගට Sentora Panel එකේ File Management වලට ELFileManager නමින් File Manager එක එකතු වෙලා ඇති එක ක්ලික් කරන්න.
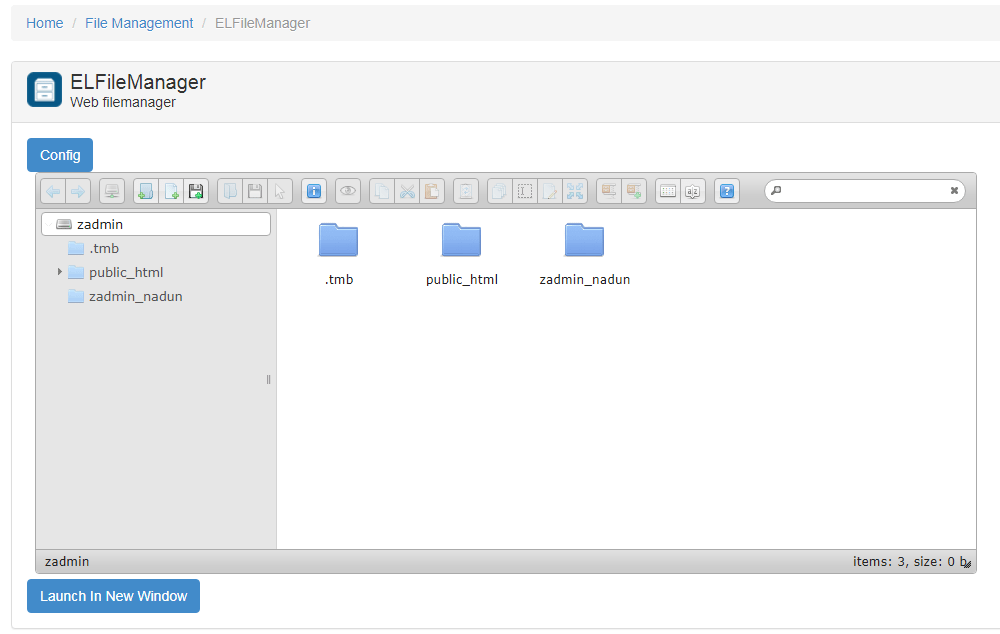
ඔය තියෙන්නේ File Manager එක
මම මේක අත්හදා බැලුවේ Cent OS 7 වලට Sentora Control Panel එක Install කරලා Ubuntu 12.04 , 14.04 වලට විතරයි Sentora දාන්න පුළුවන් දැන් ඒ OS දෙක යල් පැන ගිහිල්ලා ඒ නිසා ඔබත් Sentora Control Panel එක VPS එකකට Install කරන්න හිතනවා නම් Cent OS 7 වල පමණක් Install කරගන්න.
ඔබට File Manager Module එක Install කරන්න ගිහින් මොනවා ගැටළුවක් අවොත් Comment එකක් මාර්ගයෙන් අහන්න මම උදව් කරන්නම්
ස්තුතිය
Centos 8 Release welalu neda.
Danata thiyana Centos 7 VPS ekak Data lost wenne nathuwa update karanne komada
ඔව් මම ඒ ගැන පොස්ට් එකක් පළ කරන්නම්. ස්තුතිය
සහෝ මේවායින් ගන්න පුලුවන් හොඳම OS එක මොකද්ද?
CentOS 6, CentOS 7,
Debian 8, Debian 9
Ubuntu 14.04, Ubuntu 16.04
Sentora වලට නම් Support කරන්නේ Ubuntu 12.04 , 14.04 Cent OS 7 විතරයි. Ubuntu 12.04 , 14.04 දැන් කල් ඉකුත් වෙලා නිසා Cent OS 7 වල Sentora දානවා නම් හොදයි.
thanks bro 😀