Directadmin Web Hosting Control Panel එක Cent OS 7 VPS එකක Install කර ගන්නා ආකාරය
Directadmin Web Hosting Control Panel එක Cent OS 7 64bit VPS එකක Install කරගන්න ආකාරය තමයි අද කියලා දෙන්නේ. Cpanel/WHM වල මිල ගනම් සැප්. ඉදලා වෙනස් වෙන නිසා Cpanel වෙනුවට භාවිතා කරන්න පුළුවන් මිල ගනම් අඩු හොද Control Panel එකක් තමයි Directadmin කියන්නේ.
Directadmin නොමිලේ භාවිතා කරන්න බෑ License එකක් මිල දී ගන්න වෙනවා $ 2/Mo ඉදලා Directadmin License තියෙනවා. දවස් 30ක Trial එකකුත් තියෙනවා එක ඉසෙල්ලා අරගෙන හොද නරක බලලා පස්සේ මිල දී ගන්න පුළුවන් (Trial එක ගන්න Credit හෝ Debit Card දෙන්න අවශ්ය වෙන්නේ නෑ) directadmin Licenses වල මිල ගනම් මේ ලින්ක් එකට ගිහිල්ලා බලාගන්න පුළුවන් https://www.directadmin.com/pricing.php
Installation Requirements මෙතනින් බලාගන්න https://www.directadmin.com/install.php
Features මෙතනින් බලාගන්න https://www.directadmin.com/features_list.php
Note : ඔබ අඩු මිලකට 24/7 Support සමග Web Hosting හෝ VPS ගන්න තැනක් සොයනවා නම් lankawebhosting.net වෙතින් මිල දී ගත හැක.
ඉසෙල්ලා Directadmin සයිට් එකට ගිහිල්ලා Register වෙන්න මෙතනින් https://www.directadmin.com/clients/
Register වෙලා ඉවර උනාම Register වෙනකොට දුන්න E-mail Account එකට ලැබෙනවා Username / Password එකයි. ඒවා භාවිතා කරලා Directadmin Account එකට ලොග් වෙන්න.
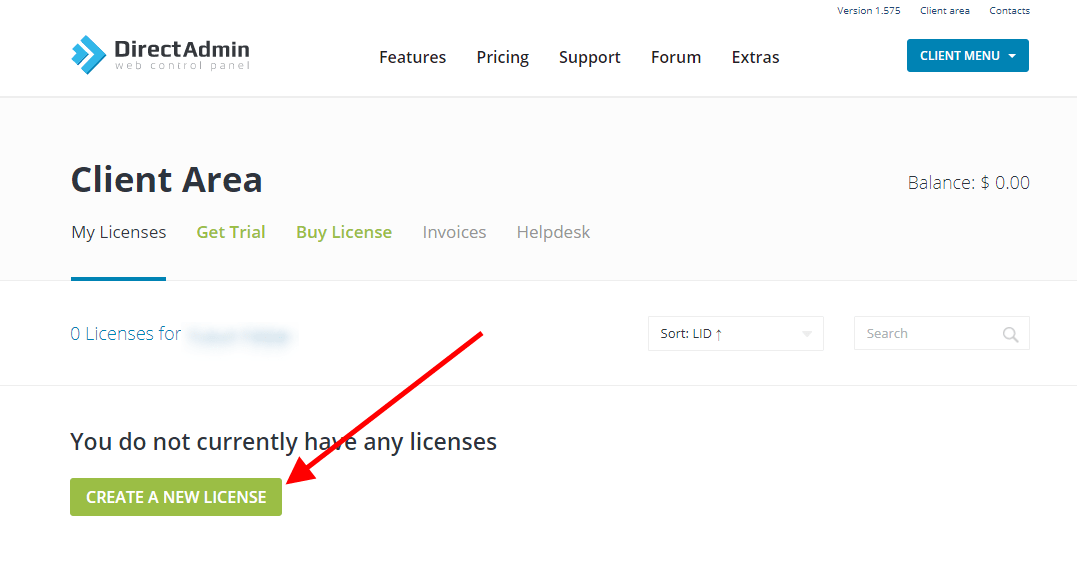
ඊළගට Create A New License මත ඔබන්න.
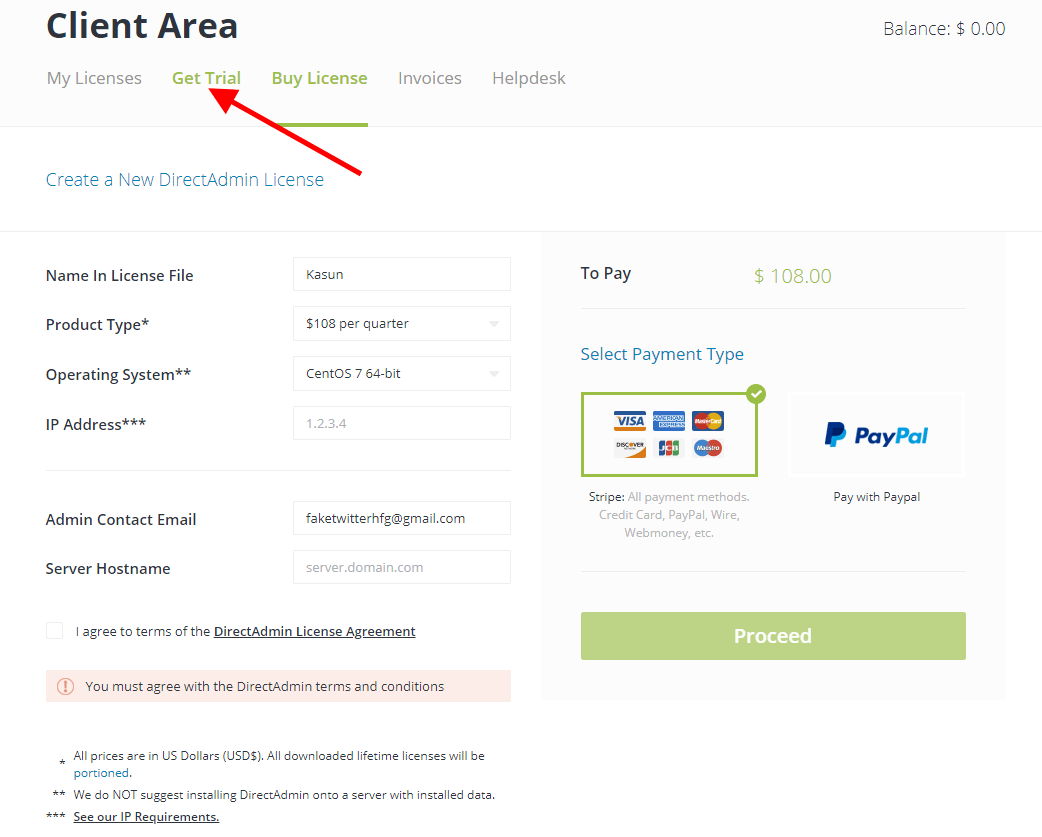
ඊළගට Get Trial ඔබන්න
ඊළග එකට අංක දැම්මා කියලා දෙන්න ලේසි වෙන්න
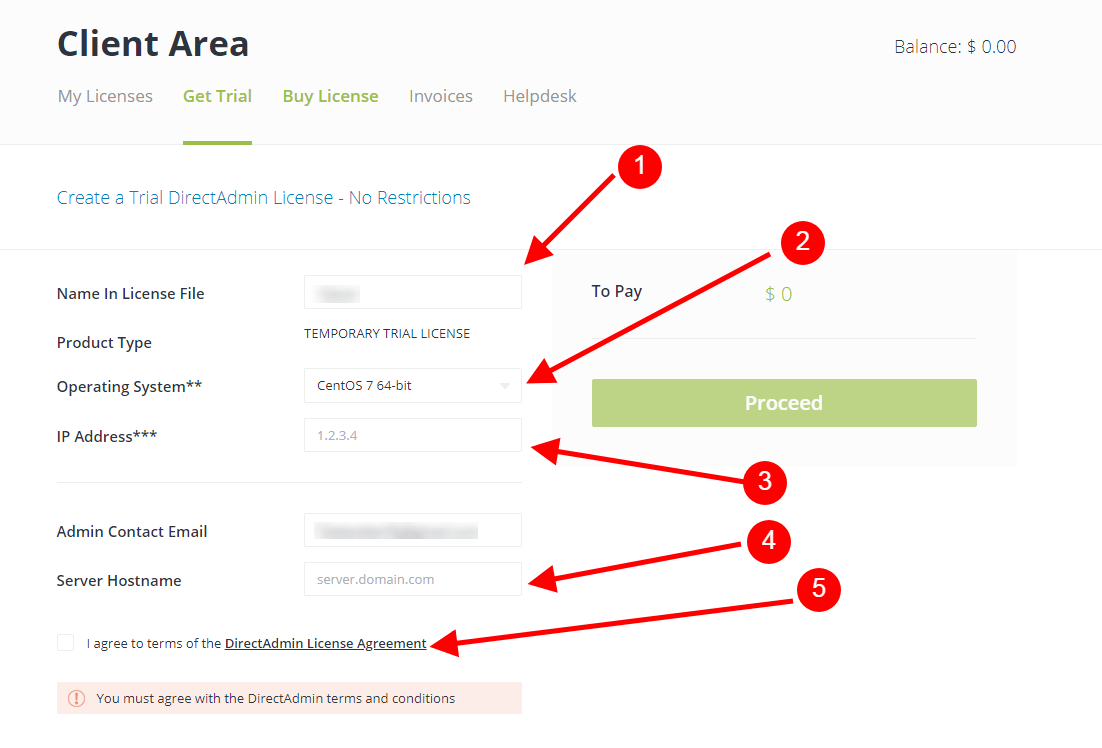
1. කැමති නමක්
2. ඔබේ VPS එකේ DirectAdmin Install කරන්න යන OS එක තෝරන්න. (Cent Os 7 තෝරන්න)
3. VPS එකේ IP ලිපිනය Type කරන්න
4. Server Host Name එක ලබා දෙන්න උදා – server.lktips.com වැනි ලිපිනයක්
5. I agree to terms of the DirectAdmin License Agreement මේකට ක්ලික් එකක් දාන්න
ඊළගට Proceed ඔබන්න.
ඊළගට VPS එකේ Cent OS 7 64bit Install කරගන්න
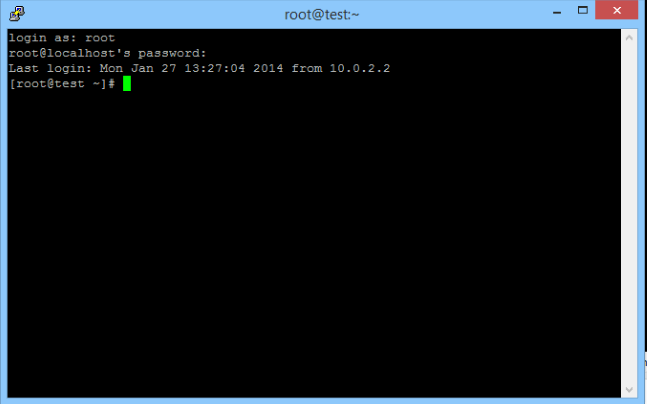
ඊළගට Putty හෝ වෙනත් ඕනෑම SSH client එකක් භාවිතා කරලා VPS එකට ලොග් වෙන්න
Login as : ඉදිරියෙන් root කියලා Type කරන්න.
Password එකට root Password එක Type කරන්න
ඊලගට පහත Command එකින් එක Type කරලා Enter ඔබන්න
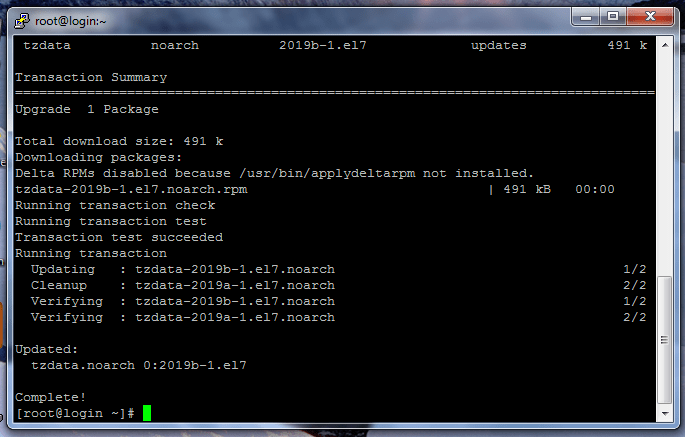
yum update -y
ඊළගට
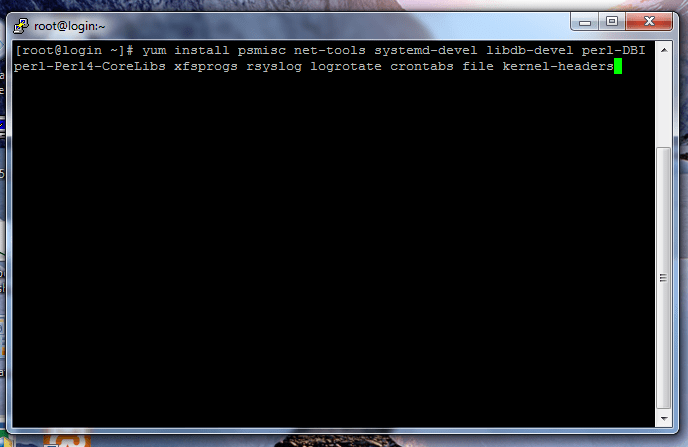
yum install psmisc net-tools systemd-devel libdb-devel perl-DBI perl-Perl4-CoreLibs xfsprogs rsyslog logrotate crontabs file kernel-headers
ඊළගට
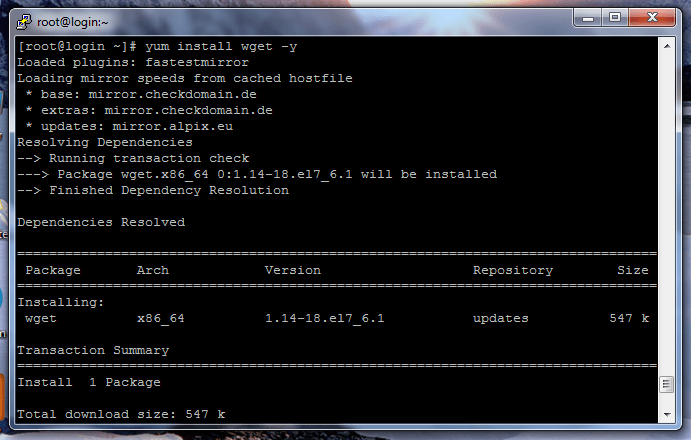
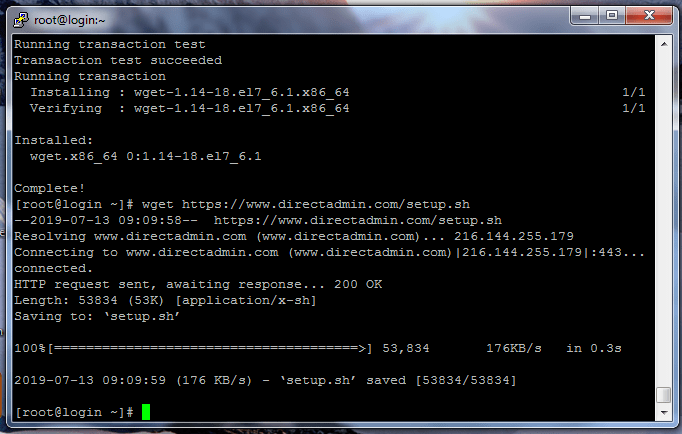
yum install wget -y
ඊළගට
wget https://www.directadmin.com/setup.sh
ඊළගට
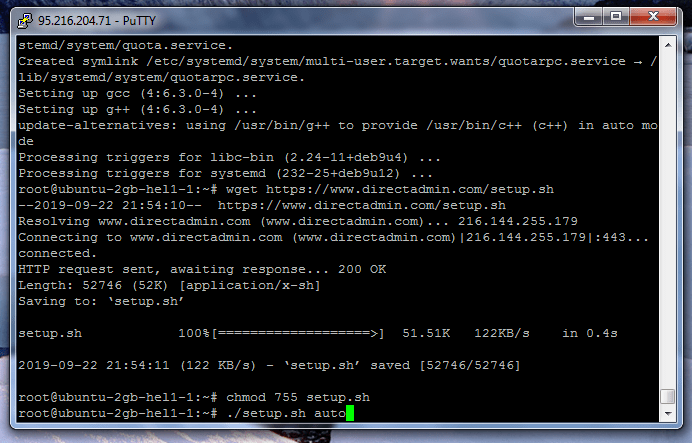
chmod 755 setup.sh
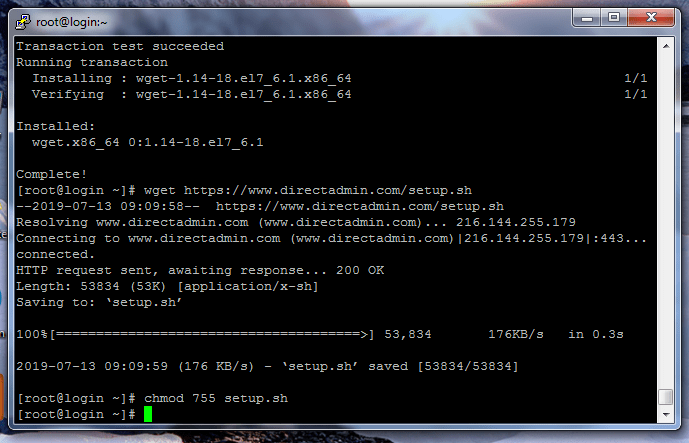
ඊළගට
./setup.sh auto
දැන් ඉතින් Install වෙලා ඉවර වෙනකම් බලාගෙන ඉන්න තියෙන්නේ මට පැයක් වගේ ගියා Install වෙලා ඉවර වෙන්න. Install වෙලා ඉවර උනාම පහත රුපයේ පරිදි Panel එකට ලොග් වෙන Link එක වගේම Username/Password දිස්වෙනවා ඔය ටික Copy කරලා අරන් පරිගනකයේ Save කරලා තියාගන්න.
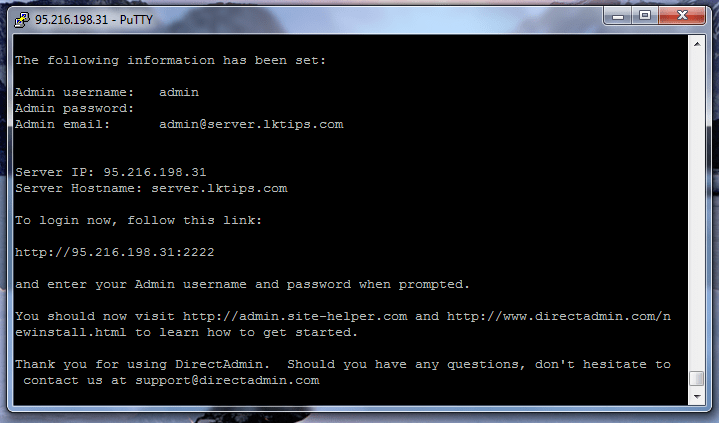
Panel එකට ලොග් වෙන්න http://your-vps-ip:2222 යන්න.
උදා – http://192.168.1.1:2222
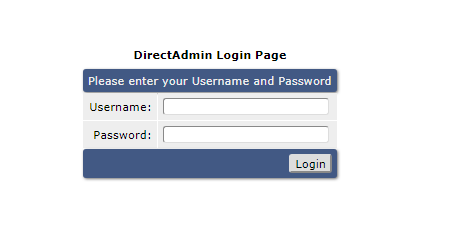
Panel එකට ලොග් වෙන තැන මේ වගේ
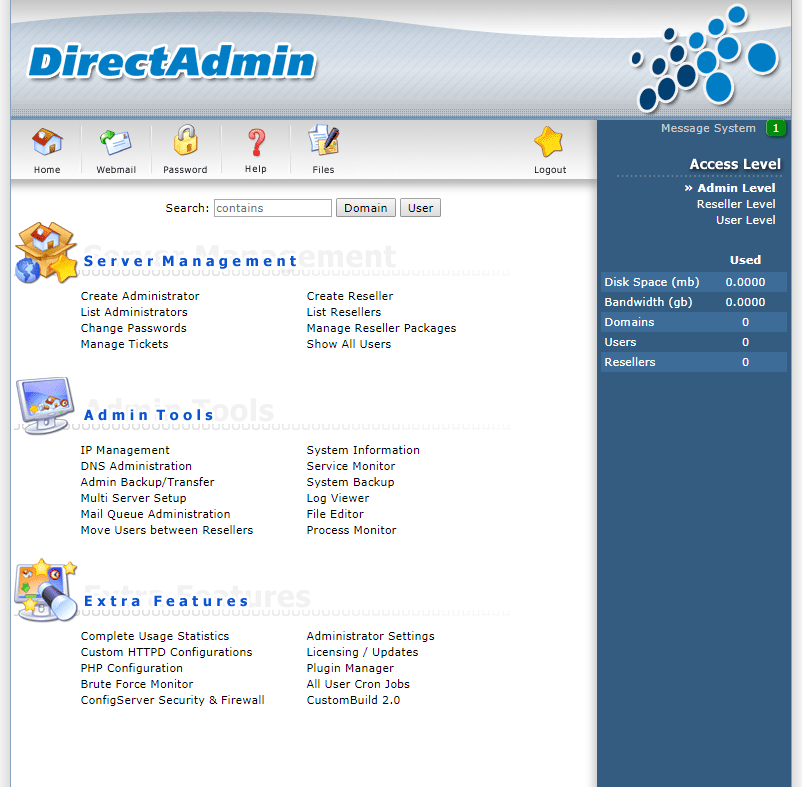
Panel එකට ලොග් උනාම පෙනේනේ පහත රුපයේ ආකාරයෙන්. ඔය Theme එක තමා Default එන එක හැබැයි තව Themes 4 තියෙනවා Cpanel වගේ එකකුත් තියෙනවා කැමති එකක් දාලා වෙනස් කරගන්න පුළුවන්.
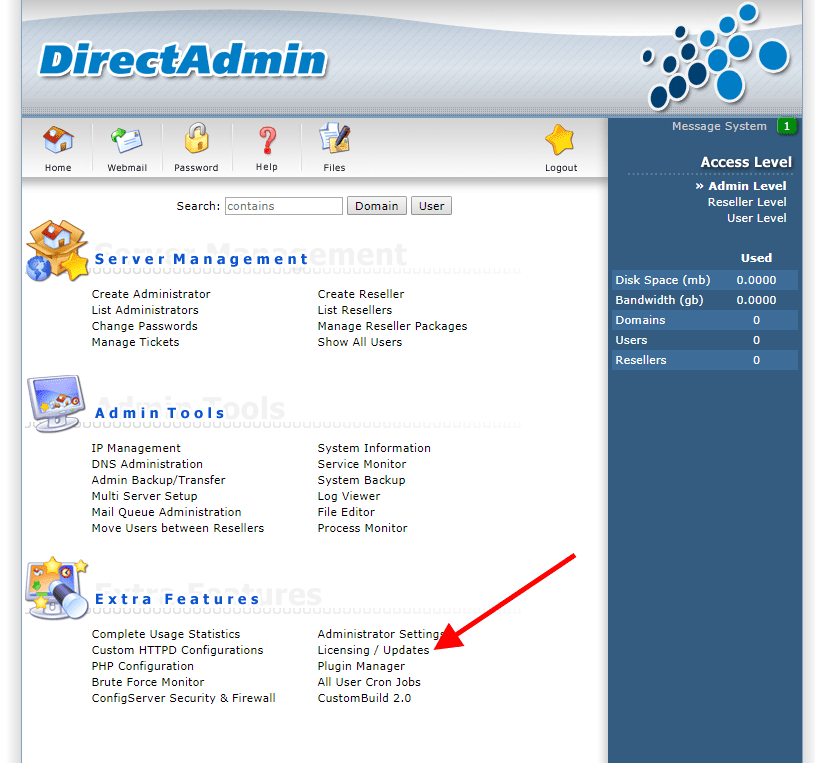
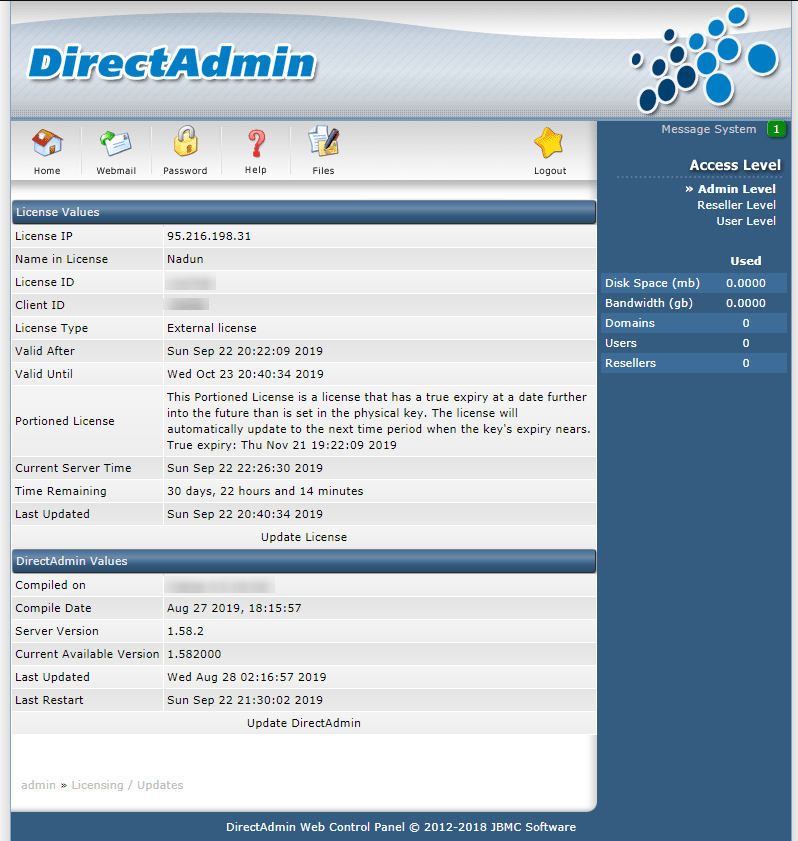
Directadmin Licensing එක ගැන වැඩි විස්තර බලාගන්න ඕනම් Extra Features > Licensing / Updates යන්න
ඔබට Directadmin Install කරන්න ගිහින් මොනවා ගැටළුවක් අවොත් Comment එකක් මාර්ගයෙන් අහන්න මම උදව් කරන්නම්.
ස්තුතිය.
VPS ekak Secure Karanna ona dewal gena Article ekak damanna puluwanda.
VPS walata siduwena attack warga saha, ewagen berenna karanna ona dewal.
Lokuma aula thami meka.
හරි මන් ලියන්නම් අනිවරෙයෙන් ස්තුතිය