ඔබේ වෙබ් අඩවිය Vestacp සමග ගොඩක් වේගවත් කරන්නේ කෙසේද?
සුභ දවසක් හැමෝටම.! අද මම කියලා දෙන්නේ Nginx + PHP-FPM සමග VPS සර්වරයක Vestacp ස්ථාපනය කරගන්නා ආකාරය පිලිබදවයි. ඔබේ වෙබ් අඩවිය ගොඩක් වේගවත්ව ලෝඩ් වෙන්න සාදා ගන්න අවශ්ය නම් VPS සර්වරයක Nginx + PHP-FPM සමග Vestacp Install කරලා බලන්න.
Features :
FIREWALL : iptables / fail2ban
DNS : Named
WEB : NGINX + Apache / NGINX + php-fpm / Apache
: WEB SCRIPTING LANGUAGES – php
: MONITORING TOOLS – Monit / Webalizer / AWStats / RRDtool
MAIL : SpamAssasin (antispam solution) / ClamAV (antivirus engine) /
: Dovecot(IMAP/POP3 server) Exim + RoundCube (mail server)
DATABASE : MySQL + phpMyAdmin / PostgreSQL + phpPgAdmin
FTP : VsFTPD ProFTPD / BACKUP CRON
SUPPORTED OS : Ubuntu 12.10 – 18.04 ,
: RHEL / CentOS 5,6,7
: Debian 7,8,9
MINIMAL SYSTEM REQUIREMENTS : 512 Mb RAM (1GB or more is recommended)
: 10GB HDD
: CPU 1Ghz
Step 1 : මුලින් ම VPS එකට Ubuntu , Debian , Cent OS , OS වලින් කැමති OS එකක කැමති Version Install කරගන්න.
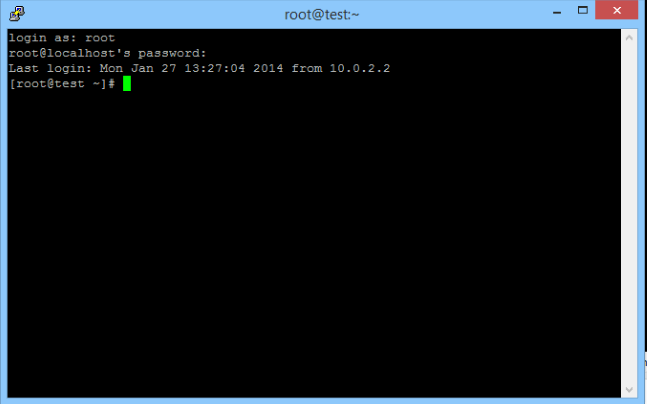
Step 2 : ඊළගට Putty හෝ වෙනත් ඕනෑම SSH client එකක් භාවිතා කරලා VPS එකට ලොග් වෙන්න
Login as : ඉදිරියෙන් root කියලා Type කරන්න.
Password එකට root Password එක Type කරන්න
Step 3 : ඊලගට පහත Command එකෙන් එක Copy/Paste කිරීමෙන් පසු Enter ඔබල Vestacp Install කරගන්න.
Ubuntu / Debian සදහා
apt-get update
apt-get install curl -y
apt-get remove –purge apache2* -y
curl -O http://vestacp.com/pub/vst-install.sh
bash vst-install.sh –nginx yes –phpfpm yes –apache no –named yes –remi yes –vsftpd yes –proftpd no –iptables yes –fail2ban yes –quota no –exim yes –dovecot yes –spamassassin yes –clamav no –softaculous no –mysql yes –postgresql no -f
Cent OS / RHEL සදහා
yum update
yum install curl -y
yum remove apache2 -y
curl -O http://vestacp.com/pub/vst-install.sh
bash vst-install.sh –nginx yes –phpfpm yes –apache no –named yes –remi yes –vsftpd yes –proftpd no –iptables yes –fail2ban yes –quota no –exim yes –dovecot yes –spamassassin yes –clamav no –softaculous no –mysql yes –postgresql no -f
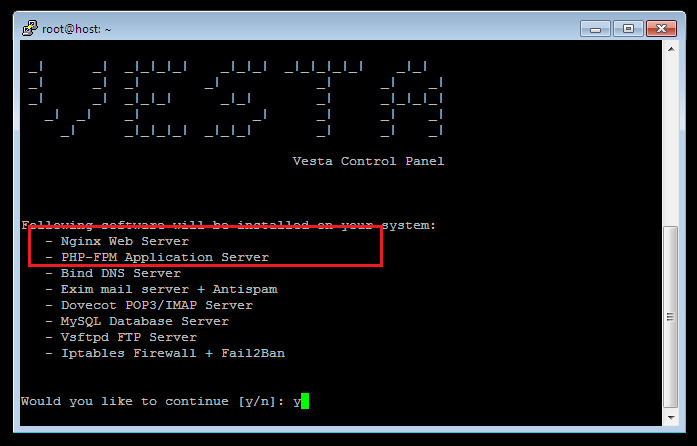
Step 4 : ඊළගට continue කරන්න Y Type කරලා Keyboard එකේ Enter ඔබන්න.
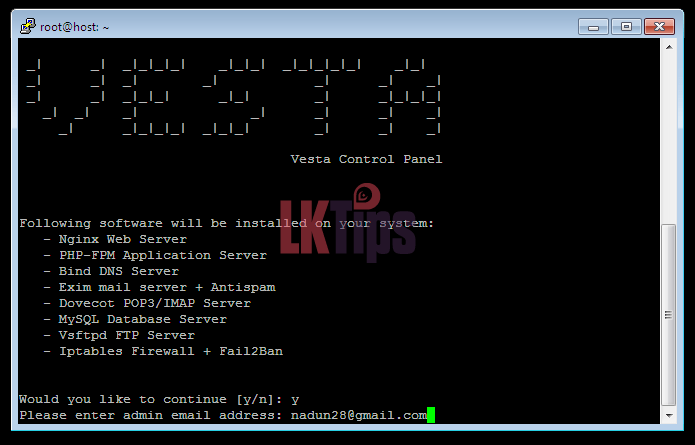
Step 5 : ඊලගට E-mail address එක Type කරලා Enter ඔබන්න.
Step 6 : ඊලගට Domain Name එක Type කරලා Enter ඔබන්න. එතකොට Vestacp Install වෙන්න පටන් ගනීවි

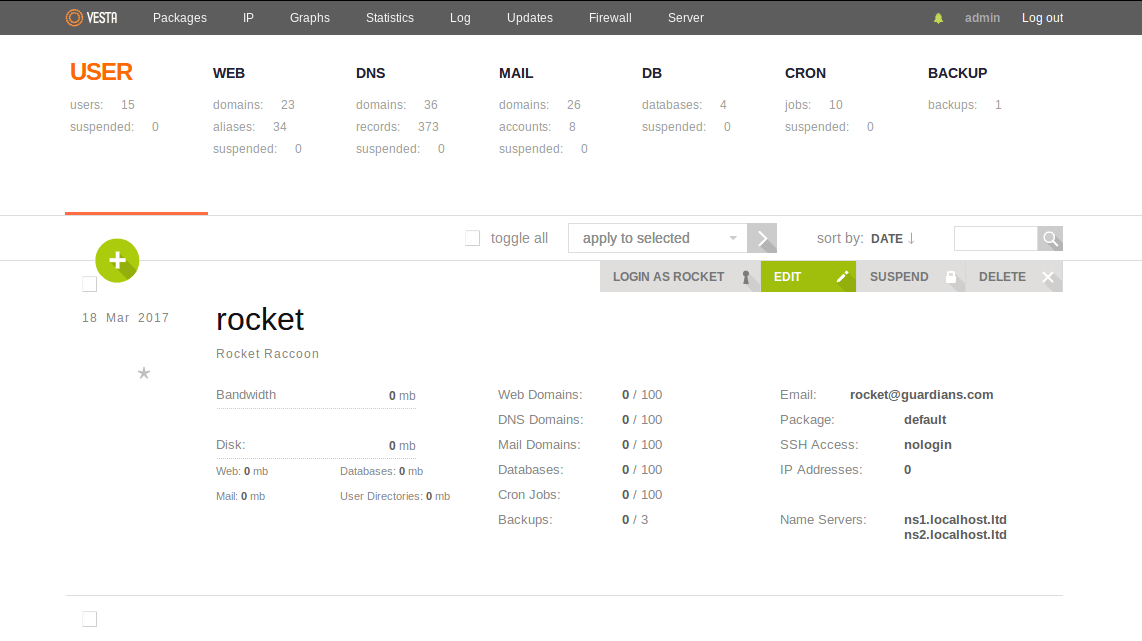
Vestacp Install උනාට පසු පෙනේනේ මේ විදියට
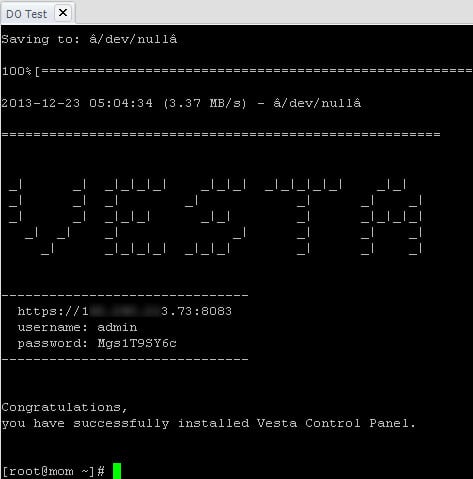
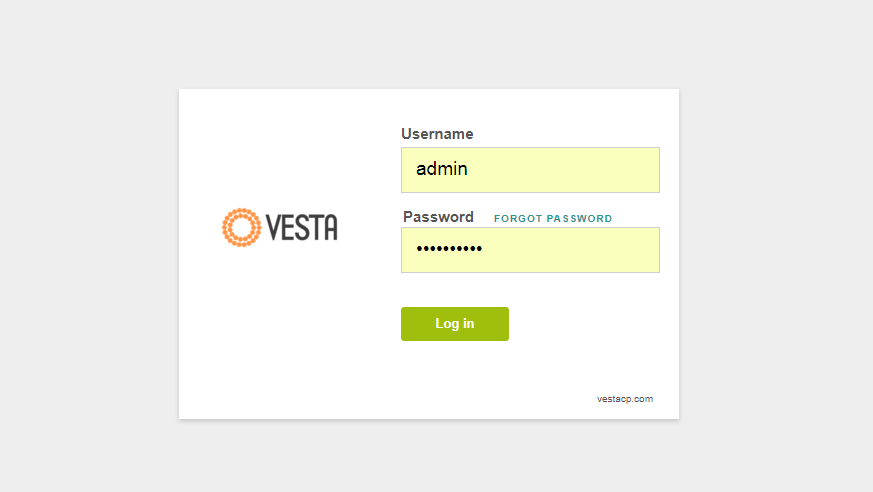
Vestacp Panel එකට ලොග් වීම සදහා Web Browser එකේ https://VPS-IP:8083 මේ විදියට Type කරලා යන්න.
උදා – https://xxx.xxx.xxx.xxx:8083
ඔබ Vestacp Install කරන්න ගිහින් මොනවා ගැටළුවක් අවොත් Comment එකක් මාර්ගයෙන් අහන්න මම උදව් කරන්නම්
Vestacp පාලක පැනලය ස්ථාපනය කිරීමට ඔබට VPS එකක් අවශ්ය නම් ඔබට එය Lanka Web Hosting වෙතින් ලබා ගත හැක.
ස්තුතිය.
Webmin install කරන විදිය ගැන Post එකක් ලියන්න පුළුවන්ද?
OS : CentOS7
හරි මම අනිවාර්යෙන් ලියන්නම් ස්තුතිය.
Elama saho
thank you comment එකට
Great mchn. ara command tikath wena wenama deela snap wena wenama damma nm thawath ela.
හරි මම එහෙම දාන්න උත්සහා කරන්නම්. thank you comment එකට
oya use karana os eka mokda vestacp ekata
Ubuntu 16.04 දැන් නම් මම Vestacp නමේ භාවිතා කරන්නේ ඒ ගැන ඊලග පොස්ට් එකකින් කියන්නම්.