VPS එකකට Vestacp Web Hosting Control Panel එක Install කර ගන්නා ආකාරය.
සුභ දවසක් හැමෝටම.! අද මම කියලා දෙන්නේ Ubuntu, Debian , RHEL / CentOS VPS සර්වර් එකක Vestacp Web Hosting Control Panel එක Install කර ගන්නා ආකාරය පිලිබදවයි. මම අන්තර්ජාලයෙන් සොයා ගත් තොරතුරු අනුව දැනට තියෙන ආරක්ෂිතම, අඩු CPU / RAM ධාරිතාවයකින් වැඩ කරන එකම Web Hosting Control Panel එක Vestacp
Features :
FIREWALL : iptables / fail2ban
DNS : Named
WEB : NGINX + Apache / NGINX + php-fpm / Apache
: WEB SCRIPTING LANGUAGES – php
: MONITORING TOOLS – Monit / Webalizer / AWStats / RRDtool
MAIL : SpamAssasin (antispam solution) / ClamAV (antivirus engine) /
Dovecot (IMAP/POP3 server) Exim + RoundCube (mail server)
DATABASE : MySQL + phpMyAdmin / PostgreSQL + phpPgAdmin
FTP : VsFTPD ProFTPD / BACKUP CRON
SUPPORTED OS : Ubuntu 12.04 , 14.04 , 16.04 , 17.04 , 18.04
: RHEL / CentOS 5,6,7
: Debian 7,8,9
MINIMAL SYSTEM REQUIREMENTS : 512 Mb RAM
: 20GB HDD
: CPU 1Ghz
මුලින්ම Ubuntu, Debian , RHEL / CentOS , OS වලින් කැමති OS එකක් VPS ඒකේ Install කරගන්න.
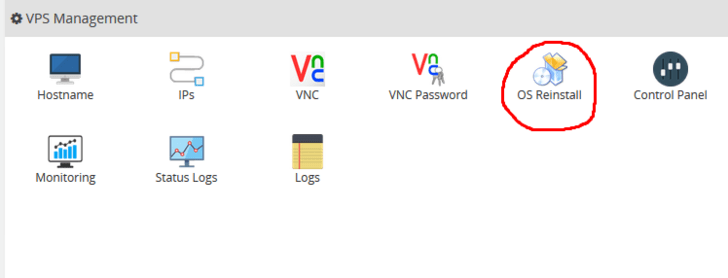
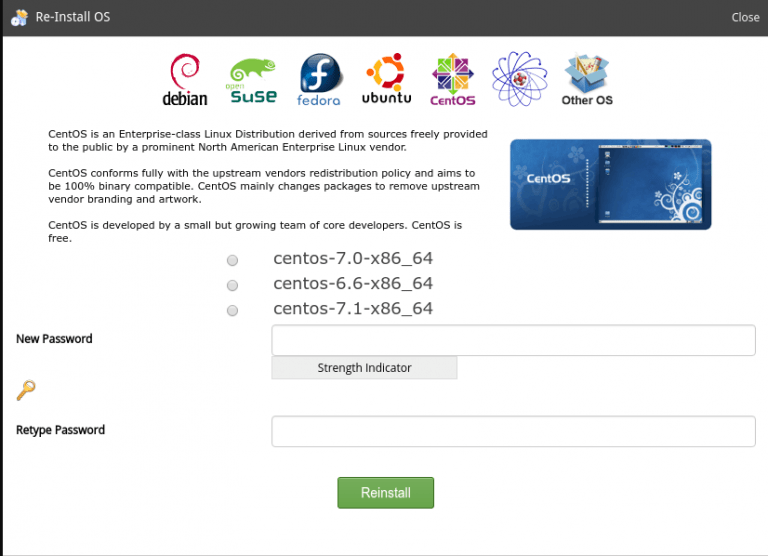
ඊට පස්සේ Putty Download කරගන්න.
32bit https://the.earth.li/~sgtatham/putty/latest/w32/putty.exe
64bit https://the.earth.li/~sgtatham/putty/latest/w64/putty.exe
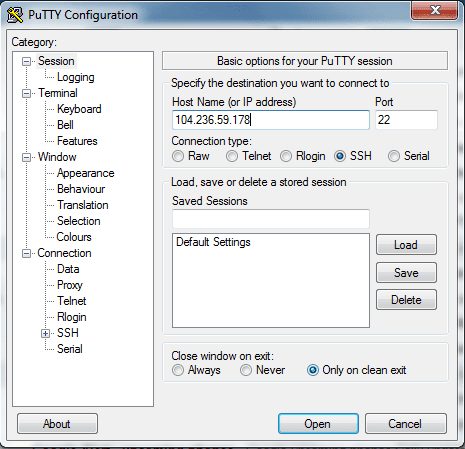
Putty Host Name එකට VPS එකේ IP එක දීලා Open ඔබන්න.
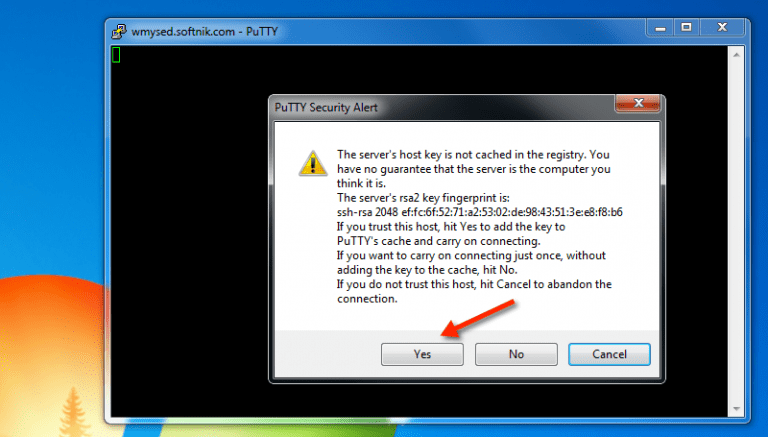
ඔය Security Alert එකට Yes ඔබන්න.
ඊට පස්සේ එනවා Windows වල CMD එක වගේ එකක් එකේ login as: කියන එක ඉදරියෙන් root කියලා Type කරලා Keyboard එකේ Enter ඔබන්න.
ඊළගට root Password එක Type කරන්න. එකේ Type වෙනවා පෙන්නේ නැහැ එත් එතන වදිනවා. (Paste කරනවනම් එතන ක්ලික් කරලා Mouse එකේ Right ක්ලික් කර ගමන් Paste වෙනවා.) ඊට පස්සේ Enter ඔබන්න.
VPS එකට SSH වලින් ලොග් උනාම මෙන්න මේ වගේ
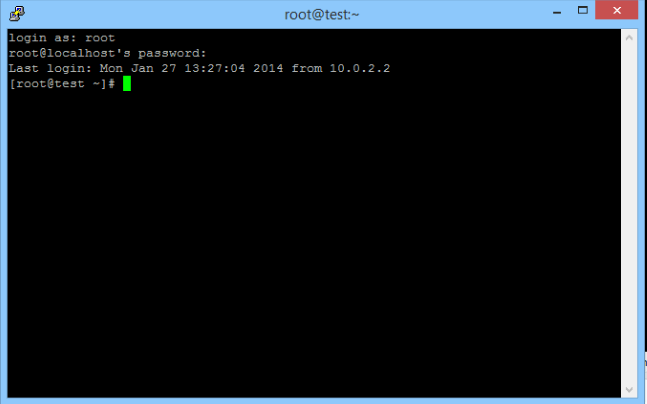
පහත Command Copy / Paste කරන්න දැන්. (Copy කරලා Putty එක උඩ ක්ලික් කරලා Mouse එකේ Right ක්ලික් කලා නම් ඇති නිකන් ම Paste වෙනවා)
curl -O http://vestacp.com/pub/vst-install.sh
bash vst-install.sh
ඊළගට continue කරන්න Y Type කරලා Keyboard එකේ Enter ඔබන්න.

ඊළගට E-mail Address එකයි Domain Name එකයි Type කරලා Enter ඔබන්න එතකොට Install වෙන්න පටන් ගනීවි.

Install වෙලා ඉවර උනාම පහත රුපයේ ආකාරයට Password Username , Login URL වැටෙයි මේ ටික ඔයාගේ E-mail එකටත් එයි.
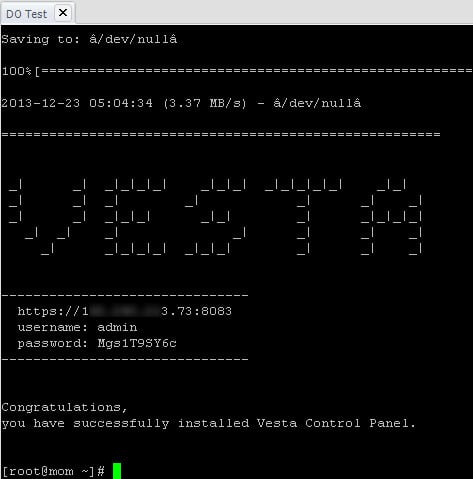
Vestacp Panel එකට ලොග් වෙන්න https://VPS-IP:8083 ඔහොම යන්න.
උදා – https://xxx.xxx.xxx.xxx:8083
ලොග් වෙන තැන මෙන්න මේ වගේ
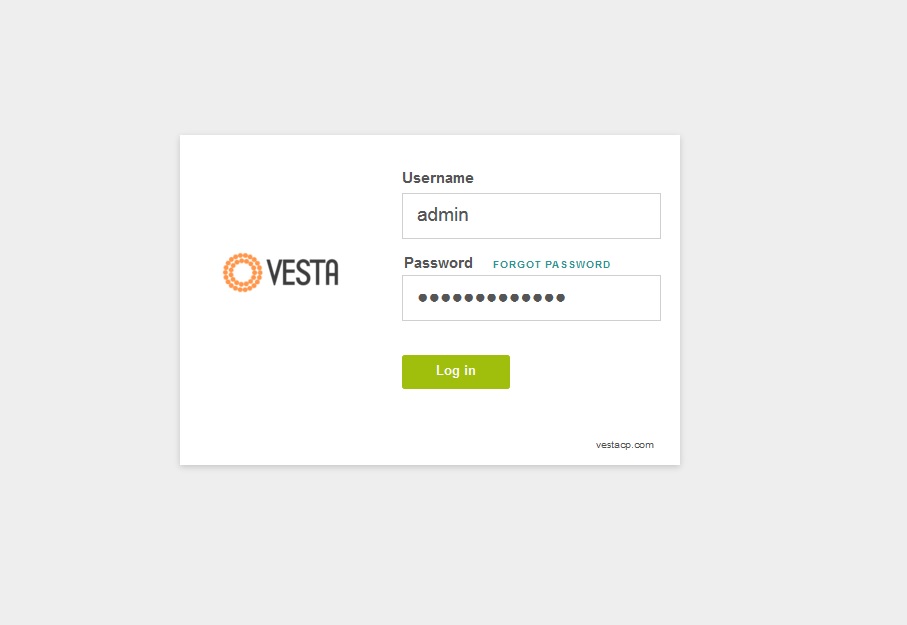
ලොග් උනාට පසු Panel එක පෙනෙන්නේ මේ වගේ.

ඔබට Vestacp Install කරන්න ගිහින් මොනවා ගැටළුවක් අවොත් Comment එකක් මාර්ගයෙන් අහන්න මම උදව් කරන්නම්
Vestacp පාලක පැනලය ස්ථාපනය කිරීමට ඔබට VPS එකක් අවශ්ය නම් ඔබට එය Lanka Web Hosting වෙතින් ලබා ගත හැක.
ස්තුතිය.

මේ panel එකේ wordpress වැඩ කරනවද බන්?
ow ma site eka host karala tiynne vestacp wala, oyta mokk hari aulk tiynawanm kiyanna help karanam