Cent OS 7 VPS එකක් මත Sentora Web Hosting Control Panel එක Install කරන්නේ කෙසේද ?
ඔබ VPS (Virtual Private Server) එකක වෙබ් අඩවියක් Host කිරීමට බලාපොරොත්තු වන්නේ නම්, ඔබට අවශ්ය වන පළමු දෙය Web Hosting පාලන පැනලයකි . සෙන්ටෝරා යනු ජනප්රිය විවෘත මූලාශ්ර Web Hosting පාලන පැනලයක් වන අතර එය ඔබට එක් VPS එකකින් Multiple Domains and Websites කළමනාකරණය කිරීමට ඉඩ සලසයි. මෙම පොස්ට් එකෙන් මම ඔබට කියලා දෙන්නේ CentOS 7 VPS එකක් මත Sentora Install කරගන්නේ කෙසේද යන්නයි.
Install Sentora
මුලින් ම VPS එකට Cent OS 7,64bit ස්ථාපනය කරගන්න.
ඊළගට ssh හරහා root user login භාවිතා කර ඔබේ VPS එකට ලොග් වෙන්න
ඊළගට පහත Command Terminal එකට පිලිවලෙන් Copy/Paste කරලා Enter Key එක ඔබන්න.
1.Update the CentOS 7 operatig system
yum -y update
2.Install wget tool to download the installation file
yum install wget -y
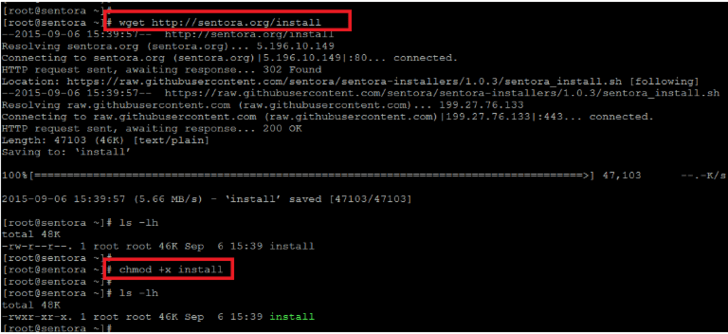
3.Download the installation script
wget sentora.org/install
4.Make the script executable
chmod +x install
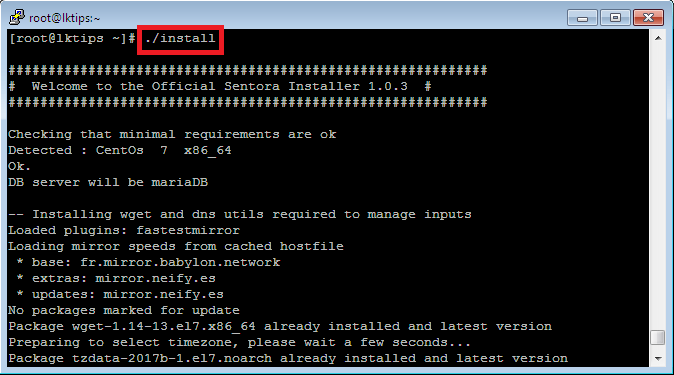
5.Start the installation of Sentora by running the script
./install
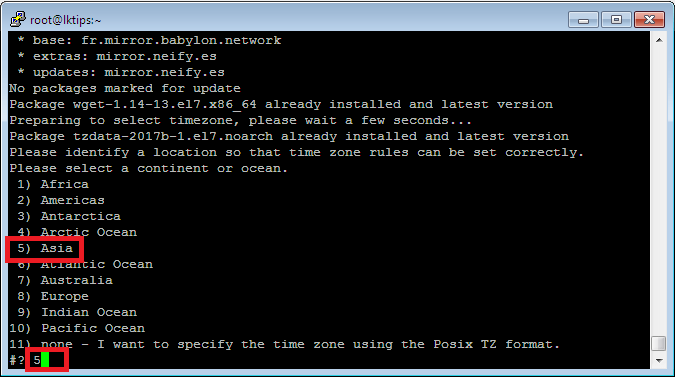
ඊලගට Time Zone එක තෝරන්න. එකට Asia තේරීම සදහා 5 Type කරලා Enter ඔබන්න.
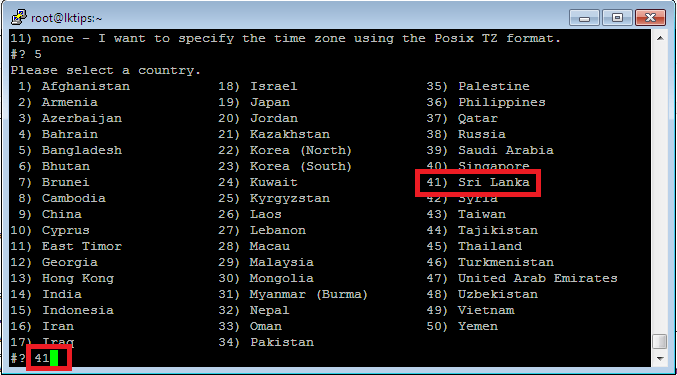
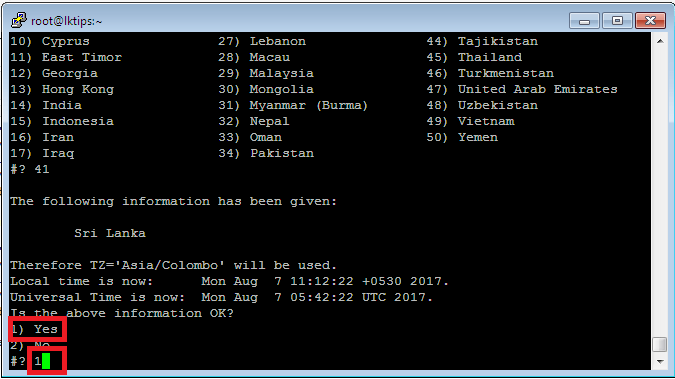
ඊළගට Sri Lanka තෝරන්න 41 Type කරලා Enter ඔබන්න.
ඊළගට එකට Yes කිරීම සදහා 1 Type කරලා Enter ඔබන්න.
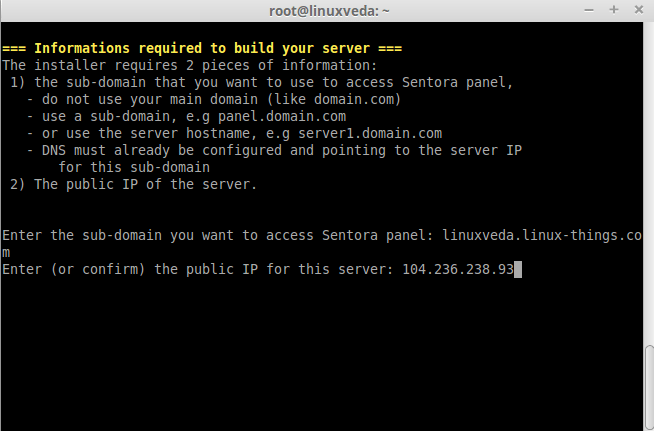
ඊළගට අහනවා Panel එකට ලොග් වෙන්න පුළුවන් Sub Domain එකක්. එකට ඔයා VPS එකට එකතු කරන්න හිතං ඉන්න Domain එකේ Sub Domain එකක් එතනට ලබා දෙන්න. panel.yourdomain.com වගේ එකක්.
ඊළගට VPS එකේ IP එක ලබා දෙන්න.
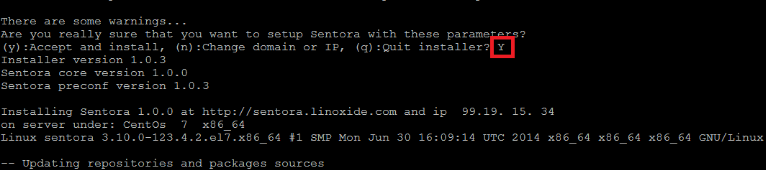
Accept කරන්න හෝ කලින් පියවරේදී ලබා දුන් Domain එක IP එක වෙනස් කරන්න පහත රුපයේ පරිදි දිස් උනොත් (මටනම් ආවේ නැහැ එහෙම එකක්) කලින් පියවරේදී ලබා දුන් Domain එක හෝ IP එක වෙනස් කරන්න ඕනම් N Type කරලා Enter ඔබන්න. එහෙම අවශ්යතාවයක් නැතිනම් accept කරන්න y Type කරලා Enter ඔබන්න.
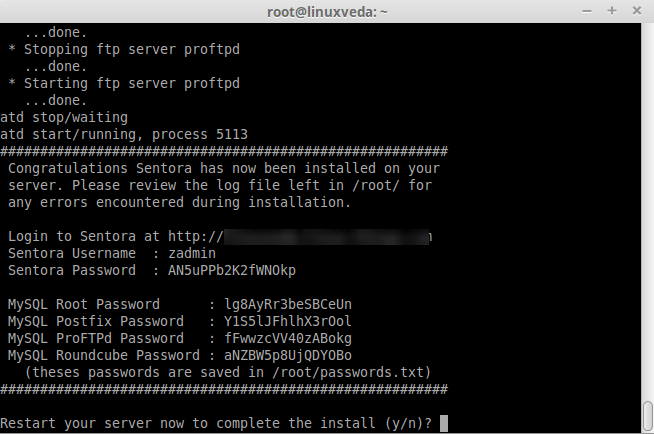
සියල්ල Install වීමෙන් පසු Panel එකේ Login URL එක Username/Password ඇතුළු සියල්ල පහත රුපයේ ආකාරයට ලැබෙනවා.
ඊළගට VPS එක Reboot කිරීම සදහා කී බෝර්ඩ් එකේ y Type කරලා Enter ඔබන්න.
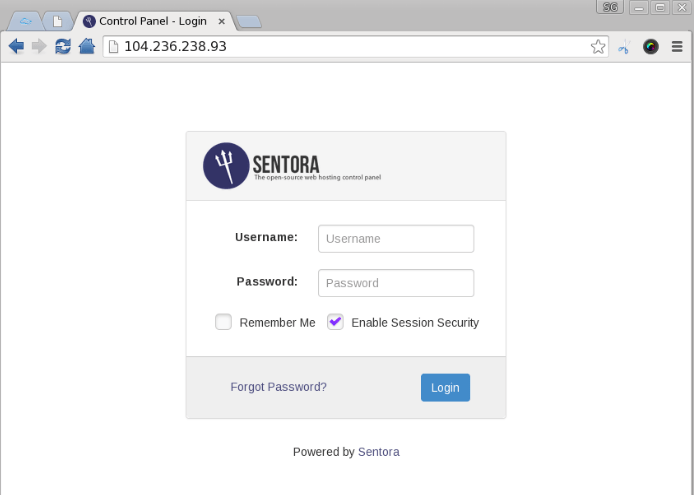
ඊට පස්සේ ඔබේ VPS එකේ IP එක වෙබ් බවුසර් එකේ Address Bar එකේ ගහලා Enter ඔබන්න එවිට Sentora Login Page එක දිස්වෙයි.
ඔබට Sentora Panel එක සම්බන්ධව තිබෙන ඕනෑම ගැටළුවක් පහතින් Comment කරලා අහන්න මම උදව් කරන්නම් ඔබට.
ස්තුතිය.